 |
| Oilcloth Bath Pillows |
Partner with scented candles and some bath bombs, herbal bath tea or other bath products and you have a lovely gift.
Here's what you'll need:
2 x rectangles of oilcloth (PVC-coated cotton) measuring 42cm x 22cm
Toy/cushion stuffing (I've used Polyester Hollow Fibre stuffing)
Sewing machine (not essential but makes things much quicker)
Scissors / pinking shears
Scissors / pinking shears
Here's what you do:
A quick note before you start: oilcloth will not glide through your sewing machine like ordinary cloth fabric. The foot tends to get stuck on the top. To avoid this you could use a teflon foot or a roller foot if you have one, or you could put tissue paper between the foot and the oilcloth and tear it off afterwards, or put masking tape on the bottom of the foot. I don't have a special foot so I used masking tape. It helped a lot, but there was still a little sticking, so I would use tissue paper next time.

1. Attach your two rectangles of oilcloth together with the wrong sides facing each other. Try to avoid using pins if you can as they'll leave holes in the oilcloth. I've used mini bulldog clips, but you could also use (plastic-coated) paper clips. If you do have to use pins try and pin as close to the edge as possible and trim at the end.
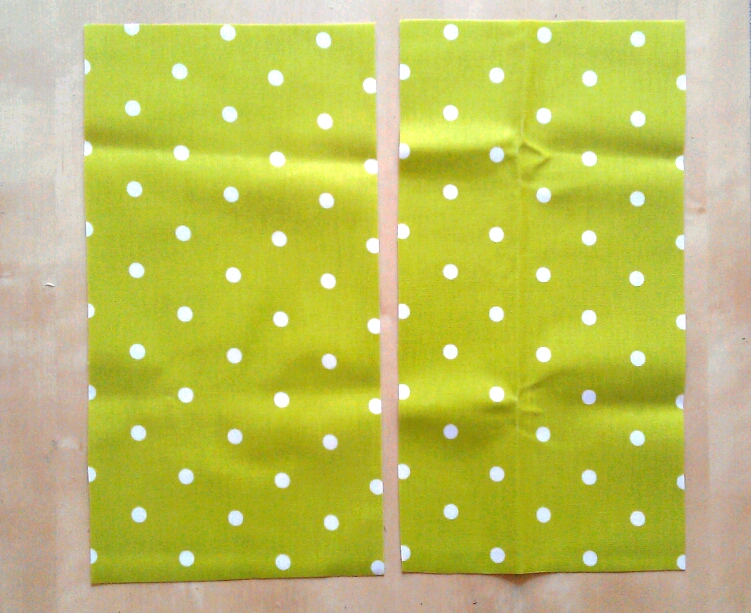
 |
| 1. |
2. Place a small mark 1cm in from each edge at the corners of one of the rectangles. These will help you to see when to change the direction of the stitching.
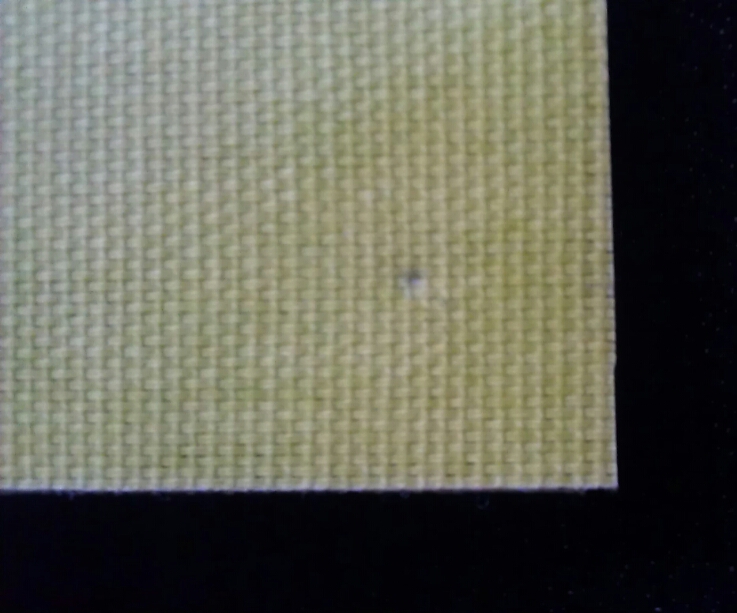 |
| 2. |
3. Sew a 1cm seam all the way around, leaving a gap for filling the pillow. (I left one whole short edge open to make it easy to fill, but in hindsight it would have been a bit easier to close if I'd left a smaller gap, but still big enough to fit my hand through.) If you're hand sewing use a running stitch and then go around again stitching in all the gaps.
 |
| 3. |
4. Fill the pillow with the toy stuffing until it is plump but the filling is not bursting out.
 |
| 4. |
5. Close the gap, sewing 1cm from the edge as you did with the other three sides.
 |
| 5. |
6. If some of the edges of the two rectangles are no longer perfectly aligned, trim a small amount of oilcloth from the edge to make them even. Or use pinking shears for a more decorative effect.


No comments:
Post a Comment